
blueです。
今回ChatGPT研究所さんのBrowser Use勉強会に参加してきました。
一からのハンズオンで教えてもらったこともあり、とても勉強になりましたので自分なりにまとめました。
勉強会後にGemini API Keyを使った方法も確認しましたので参考になれば幸いです。
今回の勉強会のもとになったChatGPT研究所さんの記事です。Browser Useの基本的な部分と安全性について書かれています。AGIラボ会員になると設定方法も見ることができます。


Browser Useの仕組みについてわかりやすく書かれているDr.ハジメさんの記事です。図解でもわかりやすいですが動画のシーケンス図を見るとより理解できると思います。

Browser Useとは
Browser Useは、Pythonで作られたブラウザ自動操作用のライブラリです。
-ライブラリとは、プログラム言語において、ある特定の機能を持つプログラムを定型化して、他のプログラムが引用できる状態にしたものを、複数集めてまとめたファイルのことである。[Weblio辞書]
Browser Useは以下の機能を持っています。
- AIエージェントの機能を持ち、LLMと対話することができます。
-AIエージェントは、環境と対話し、データを収集し、そのデータを使用して自己決定タスクを実行するソフトウェアです。これにより、事前に決められた目標を達成することができます。[AWS] - ブラウザを解析したり、実行できる操作を管理できます。
- Playwrightというツールを入れることで実際にブラウザを操作できます。
Browser useのインストール方法
Browser useをインストールするには以下が必要になります。
- Python(3.11以上が必要とのこと)・・・Browser Useを動かすのに必須
- Browser Use・・・本体。Pythonのライブラリ
- Playwright・・・ブラウザ操作ツール
ひとつずつやっていきます。
Pythonのインストール
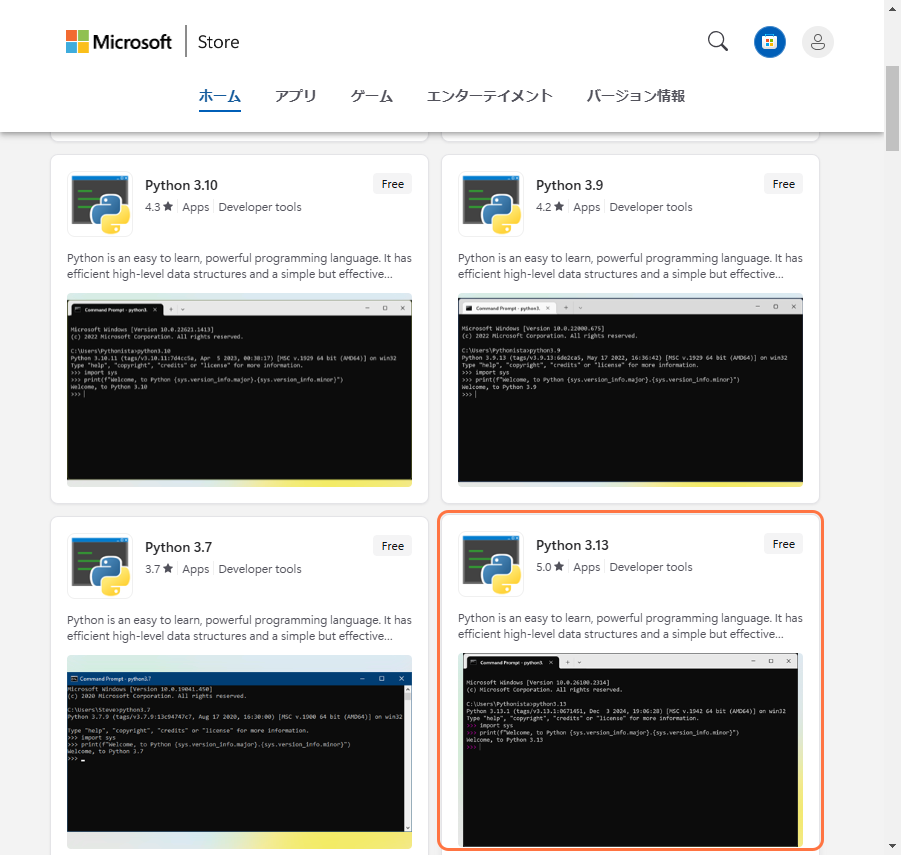
1.Microsoft StoreやGoogle検索などからPythonをインストールする(以下は3.13)
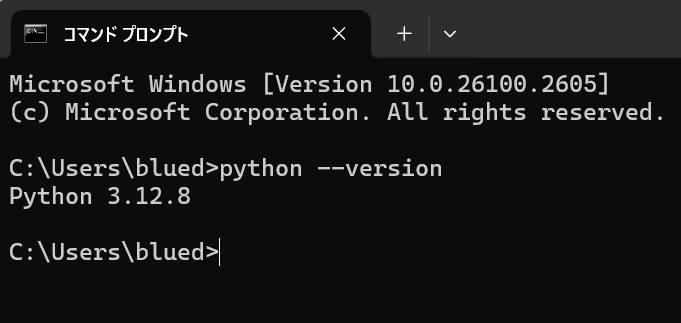
2.コマンドプロンプトを開き、以下のコマンドを入力する
/python --version以下のようにPythonのバージョンが出てくればOK(以下は3.12.8)
仮想環境の実装
1. 任意の場所にBrowser Useフォルダを作成する
以下ではドキュメントフォルダの下に作成しています(どこでもOK)。
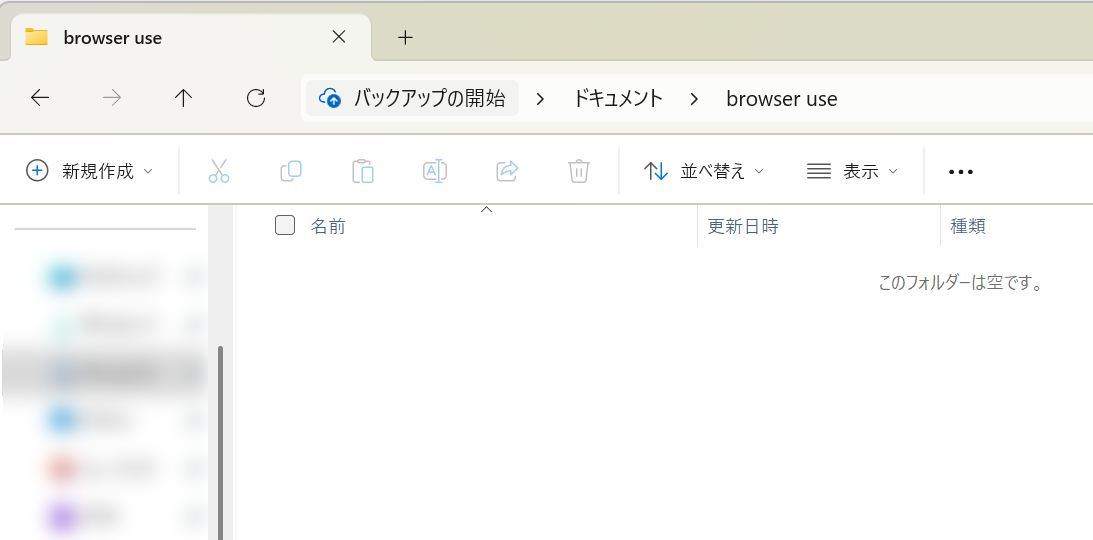
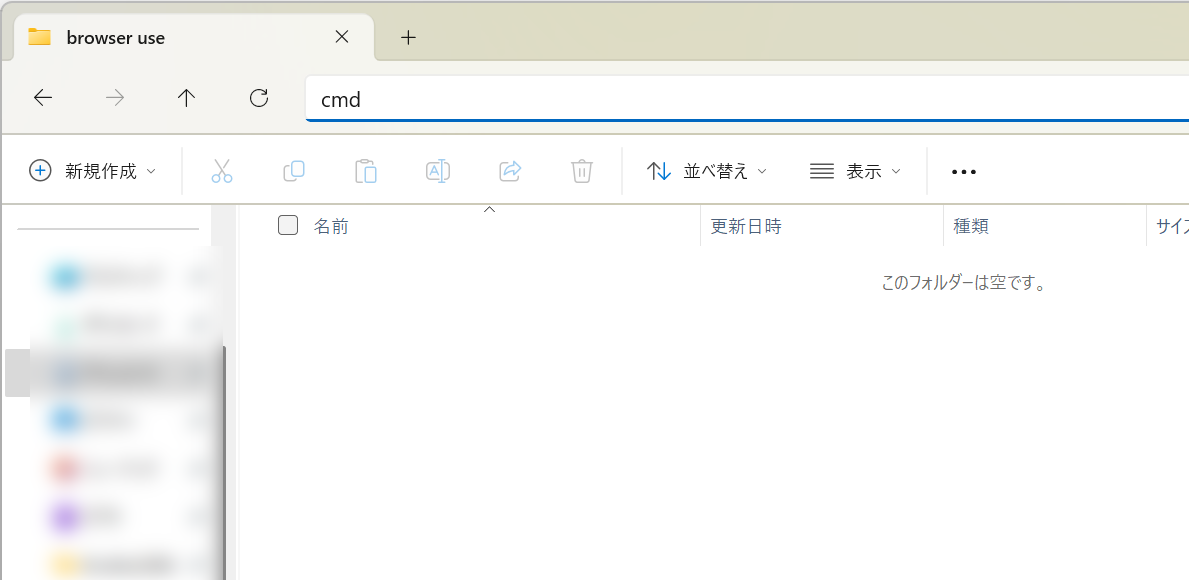
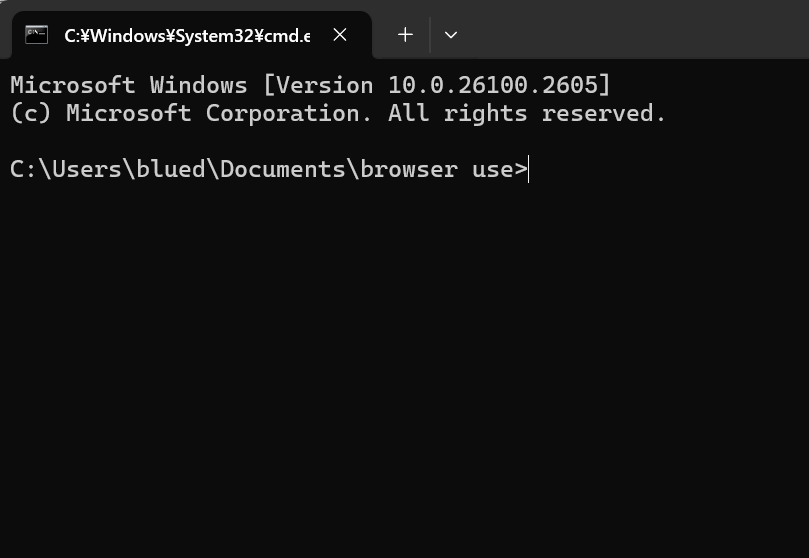
2.フォルダを開いた状態でアドレスバーに「cmd」と入力してEnterを押す。コマンドプロンプトが立ち上がる(Pathが~\browser useになっていることを確認)。
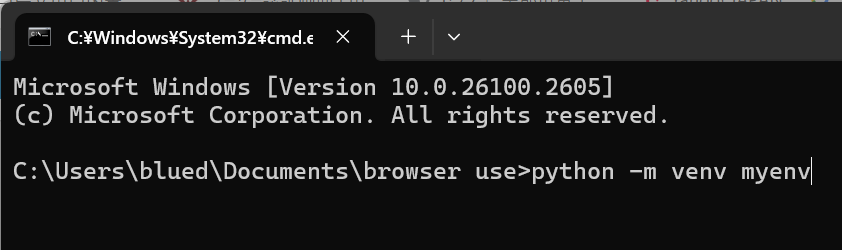
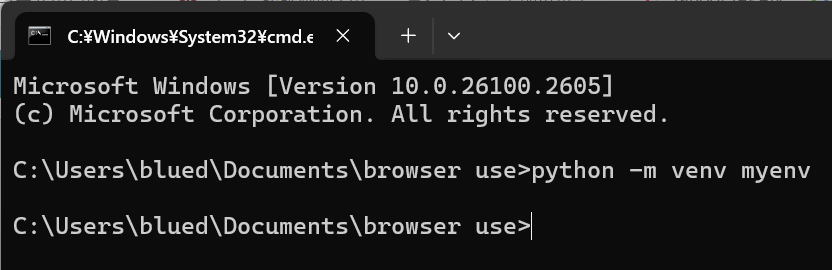
3.以下のコマンドを入力して実行する。処理が終わってPathが表示されればOK。
python -m venv myenv処理前
処理が終わった状態
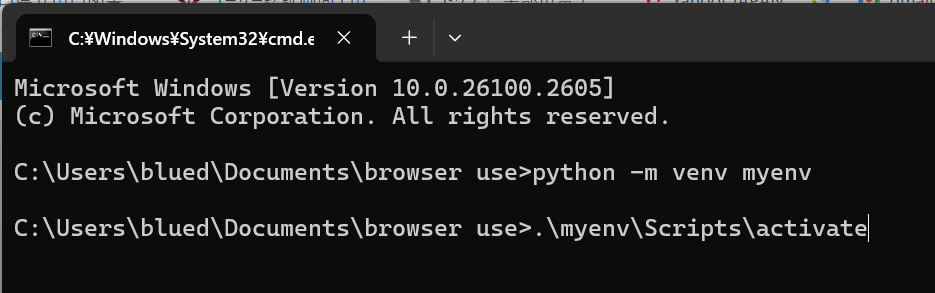
4.以下のコマンドを入力して実行する。処理が終わって(myenv)が頭につけばOKです。
.\myenv\Scripts\activate処理前
処理後

Browser Useをインストール
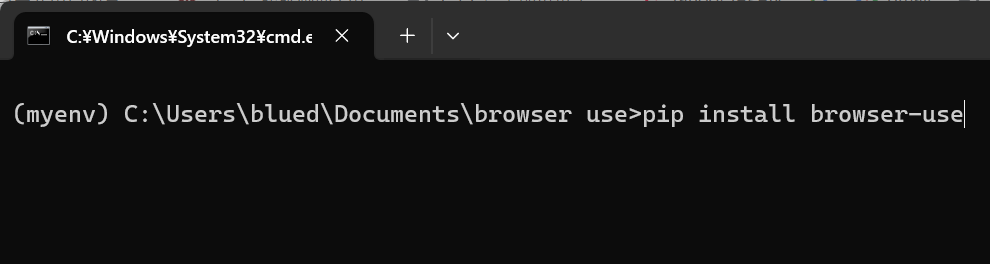
1. 以下のコマンドを入力して実行する。
pip install browser-use処理前
処理後(Pathが2つ表示されていますが1つで問題ありません)
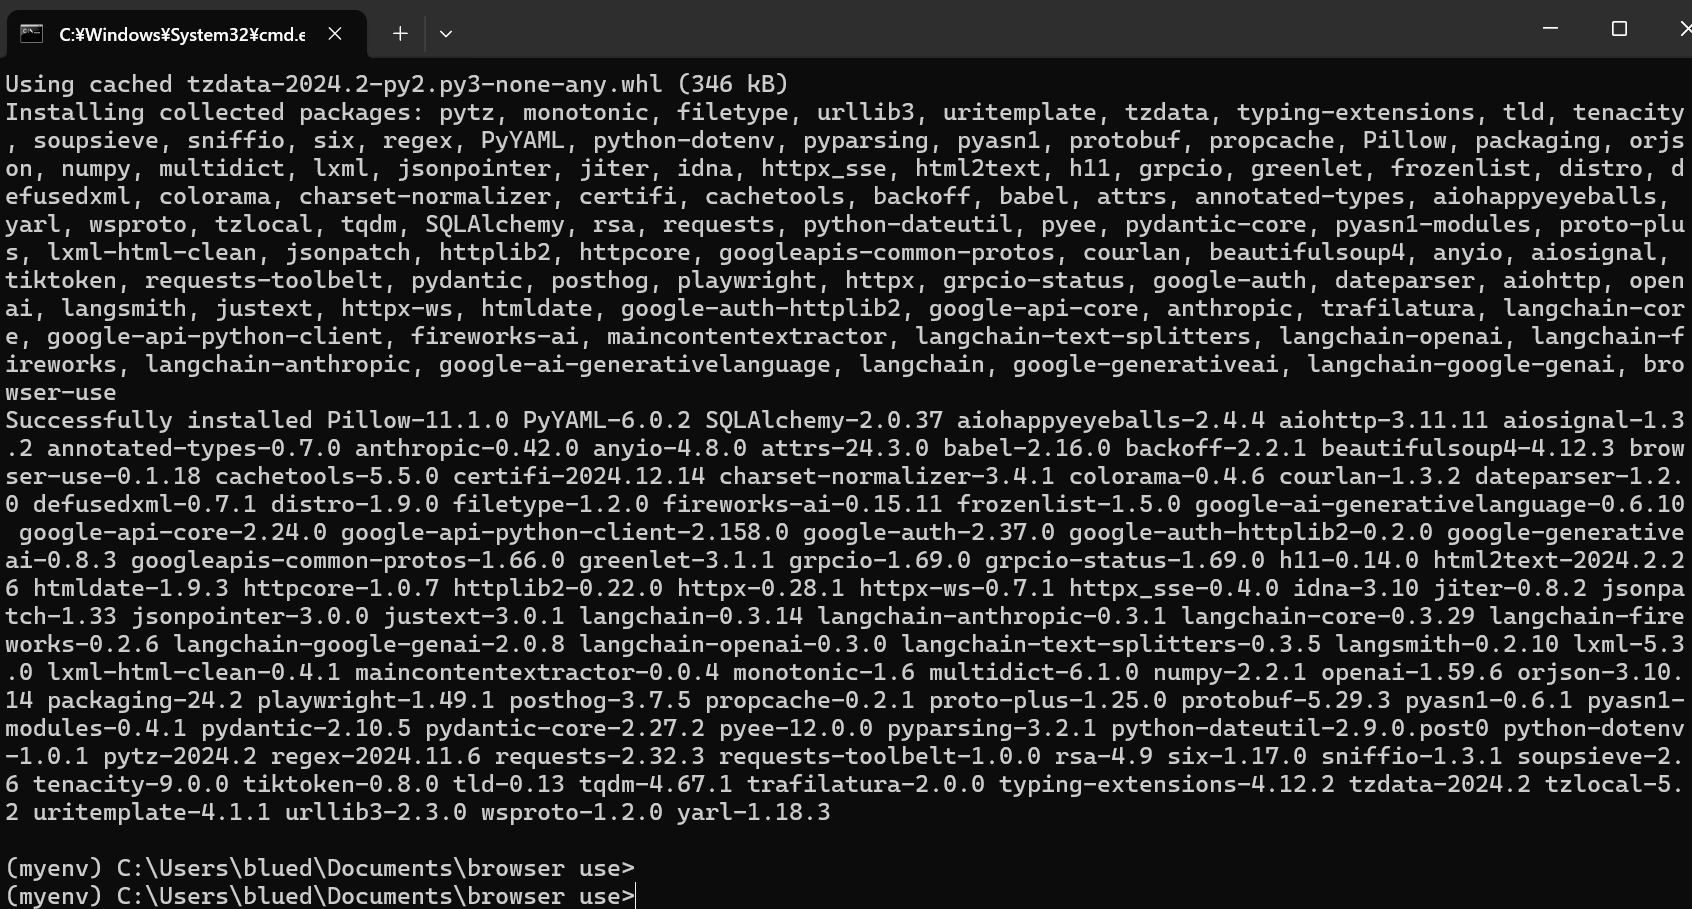
色々書かれていますが色々なパッケージがインストールされています。
Playwrightをインストール
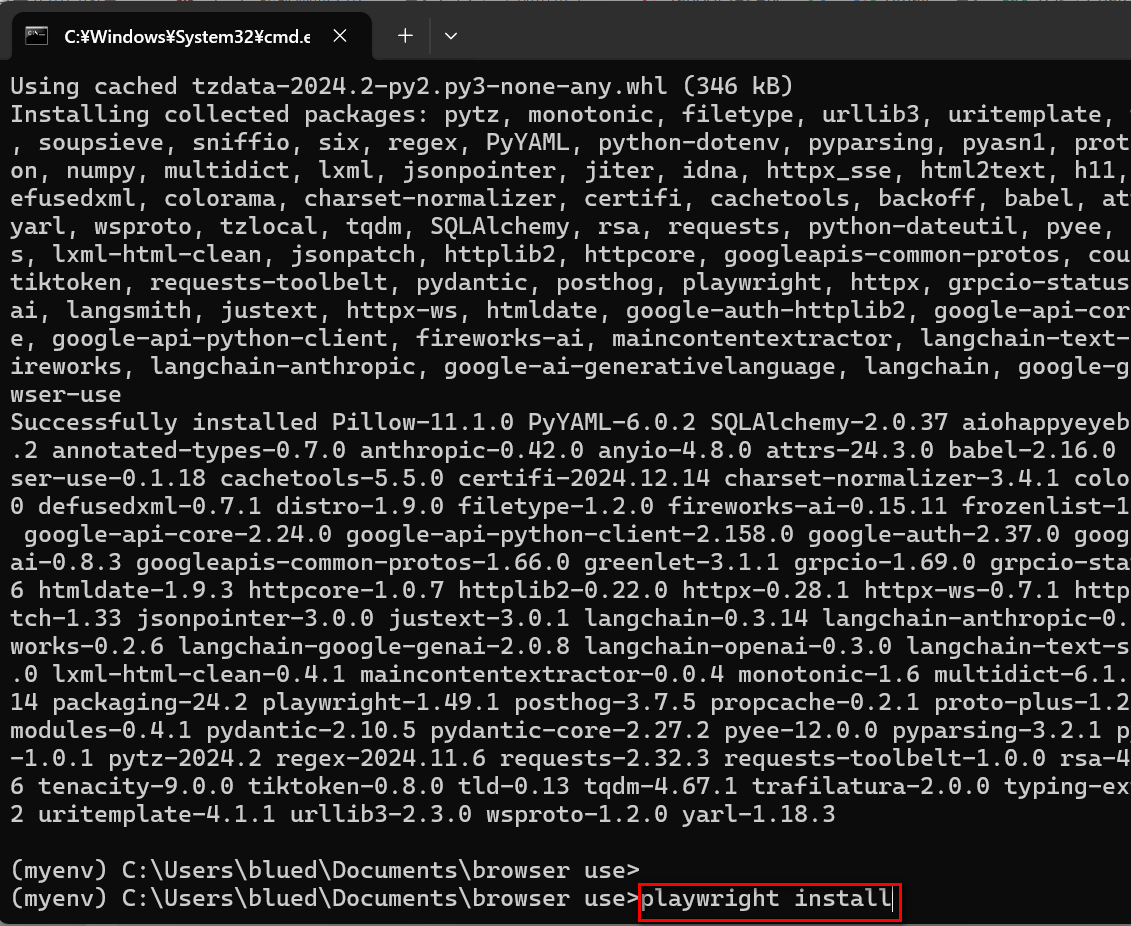
1.以下のコマンドを入力して実行する。
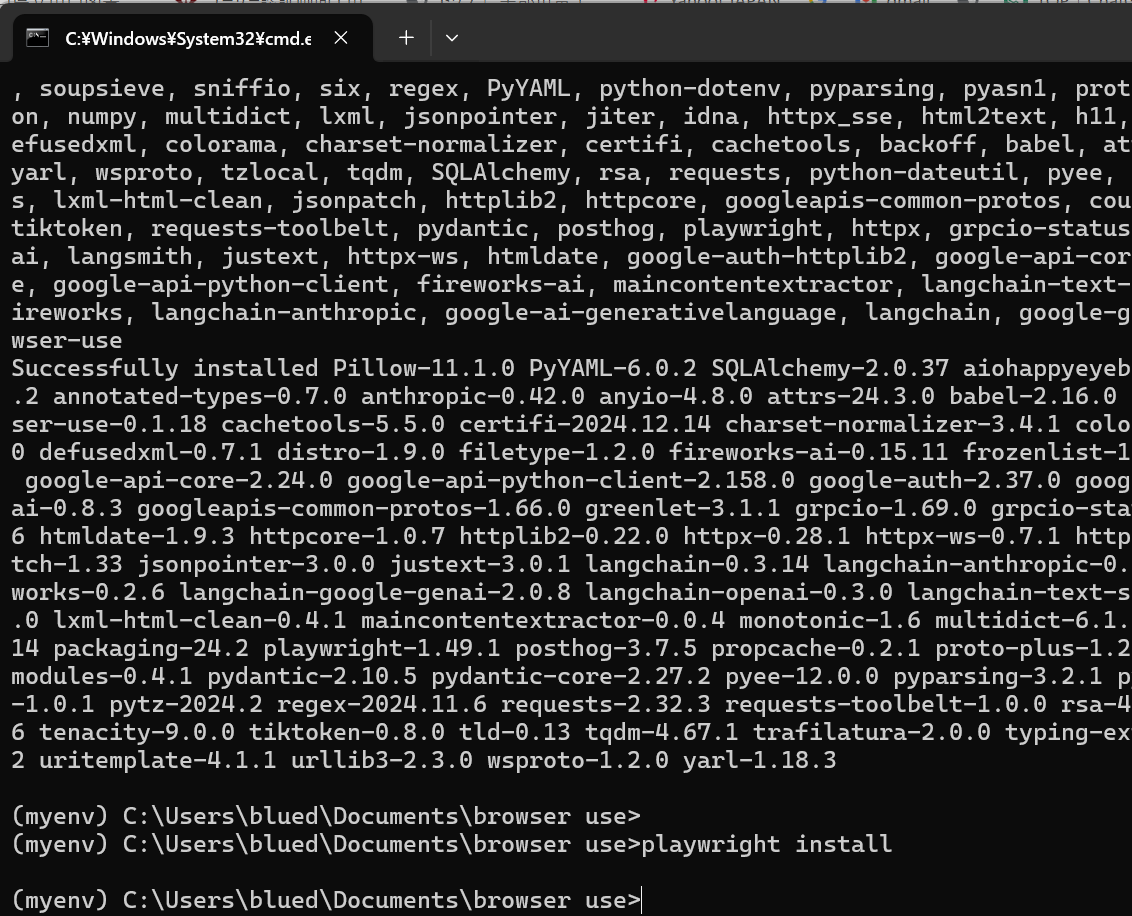
playwright install処理前
処理後 Pathが表示されればOKです。
Browser Use用ファイルの作成
以降はBrowser Useで使用するファイルを作成していきます。
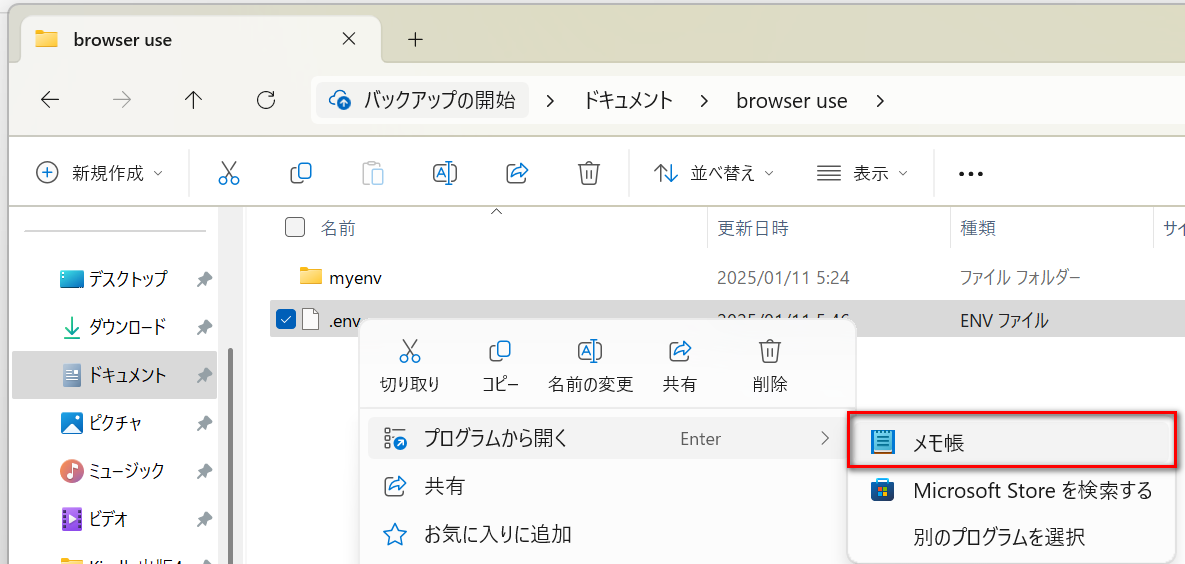
.envファイルの作成
1.Broser Useフォルダ直下に新規テキストドキュメント.txtを作成する。
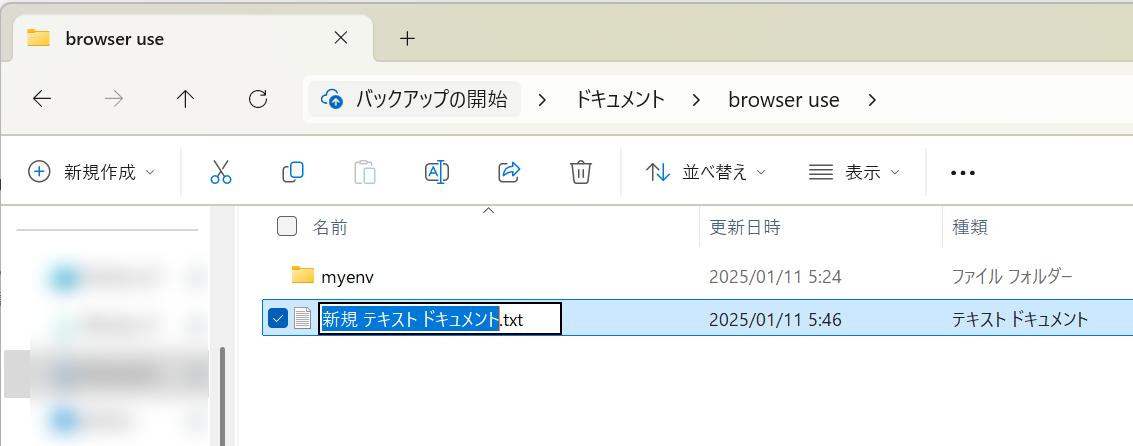
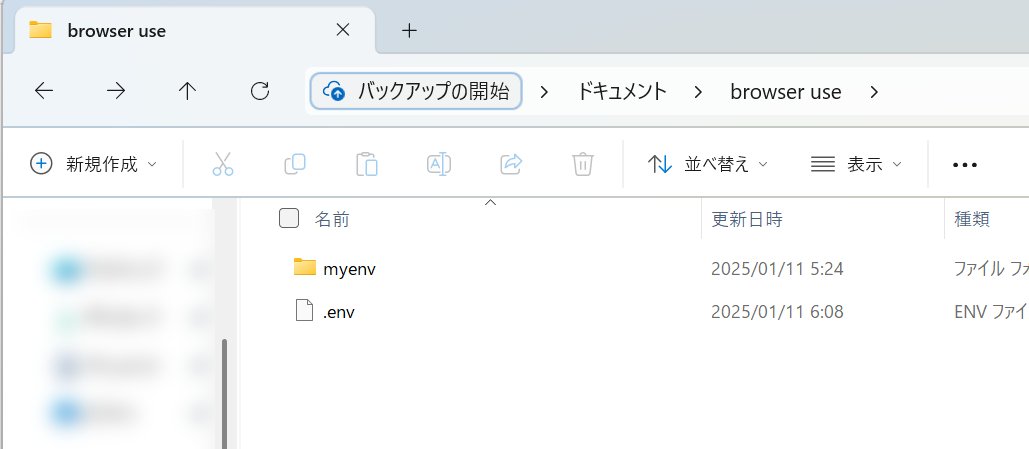
2.ファイル名を「.env」にする。
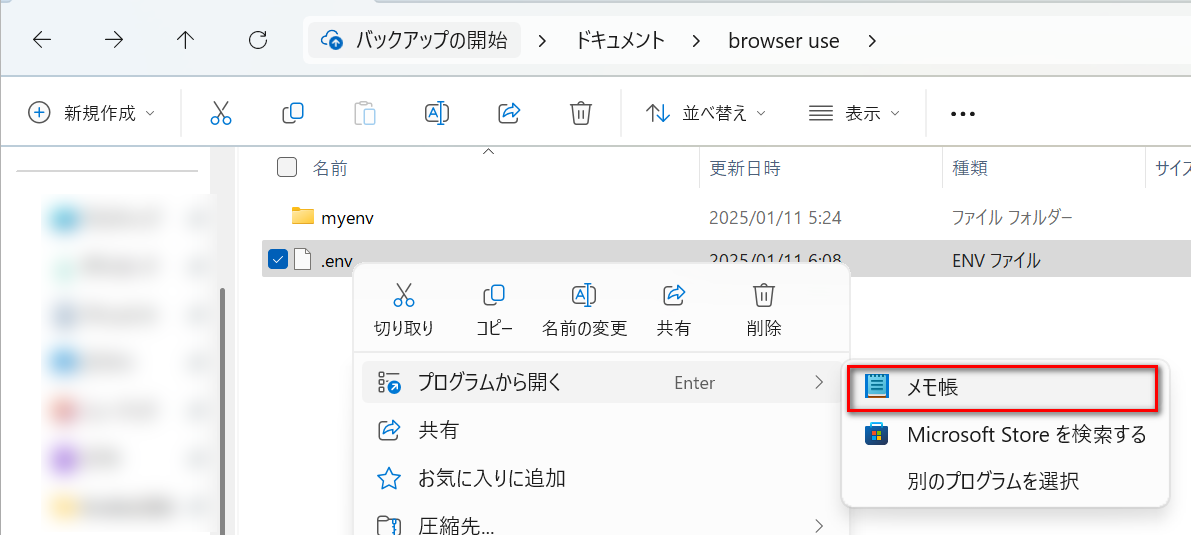
3.右クリック-「プログラムから開く」-「メモ帳」を選択する。
4.以下をコピーする。「あなたのAPIキー」の部分にAPIキーを入力して保存する。
OPENAI_API_KEY=あなたのAPIキー
Pythonファイルの作成①
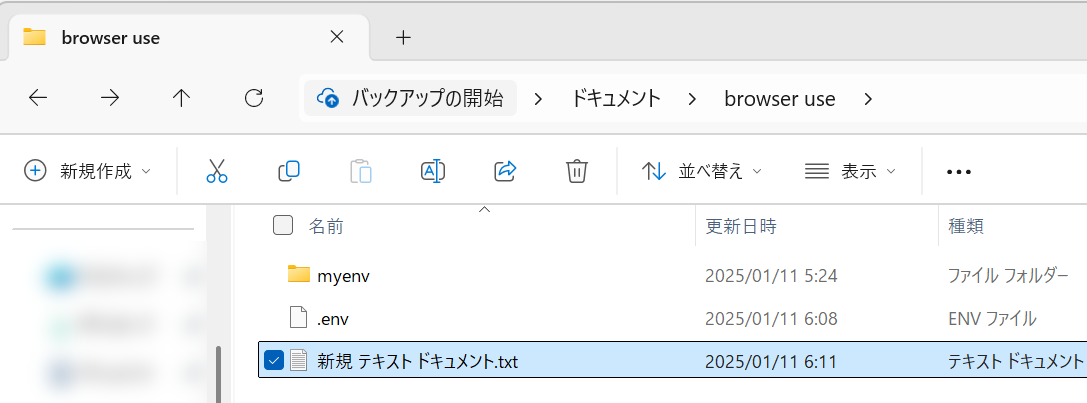
1.Broser Useフォルダ直下に新規テキストドキュメントを作成する。
2.ファイル名を「test_agent.py」にする。
3.右クリック-「プログラムから開く」-「メモ帳」を選択する。
4.以下をコピーして保存する。
# test_agent.py
from langchain_openai import ChatOpenAI
from browser_use import Agent
import asyncio

async def main():
    agent = Agent(
        task="今日の東京の最高気温と最低気温を教えて",
        llm=ChatOpenAI(model="gpt-4o"),
    )
    result = await agent.run()
    print(result)

asyncio.run(main())
これで準備完了です!
コードの実行
先ほどのコマンドプロンプト画面に以下を入力する。
python test_agent.py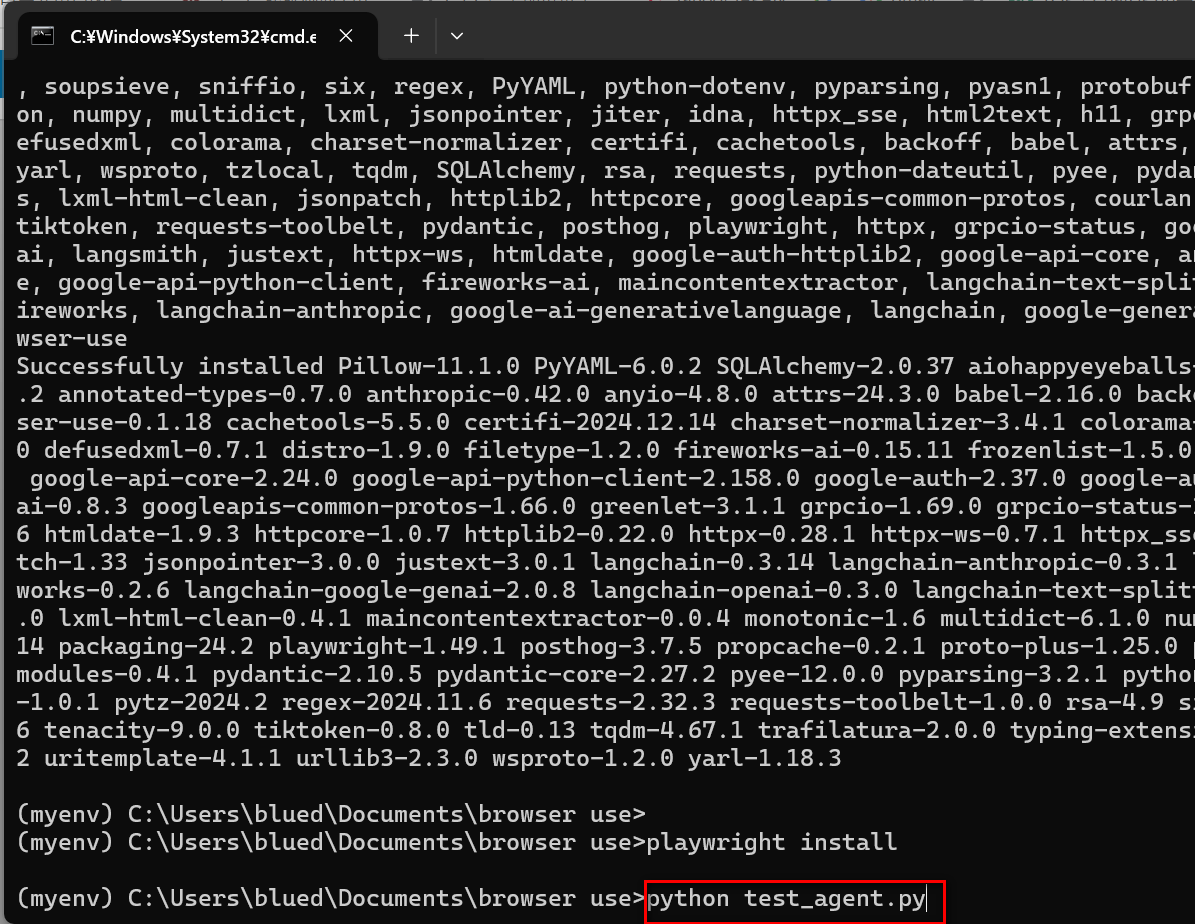
すると、コマンドプロンプトが動き始めて・・・
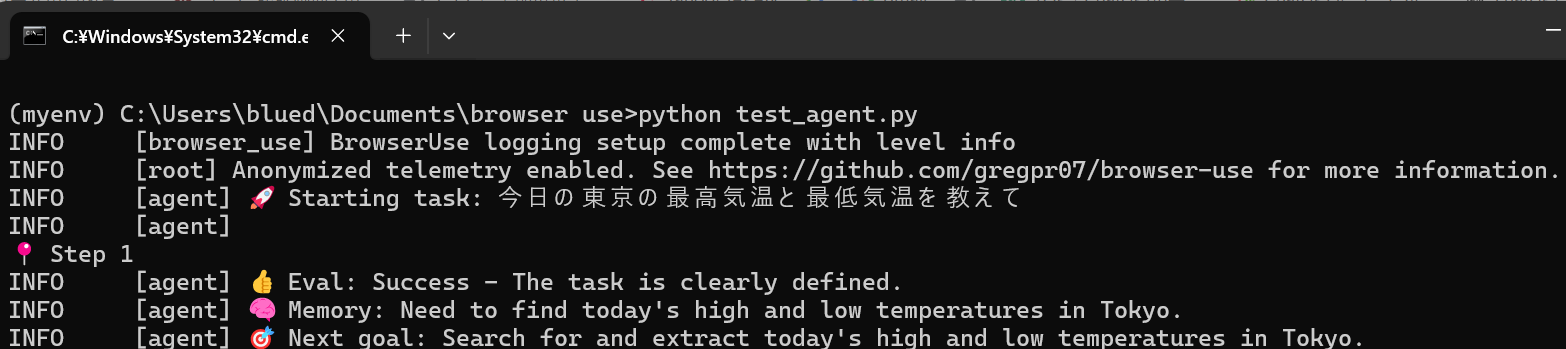
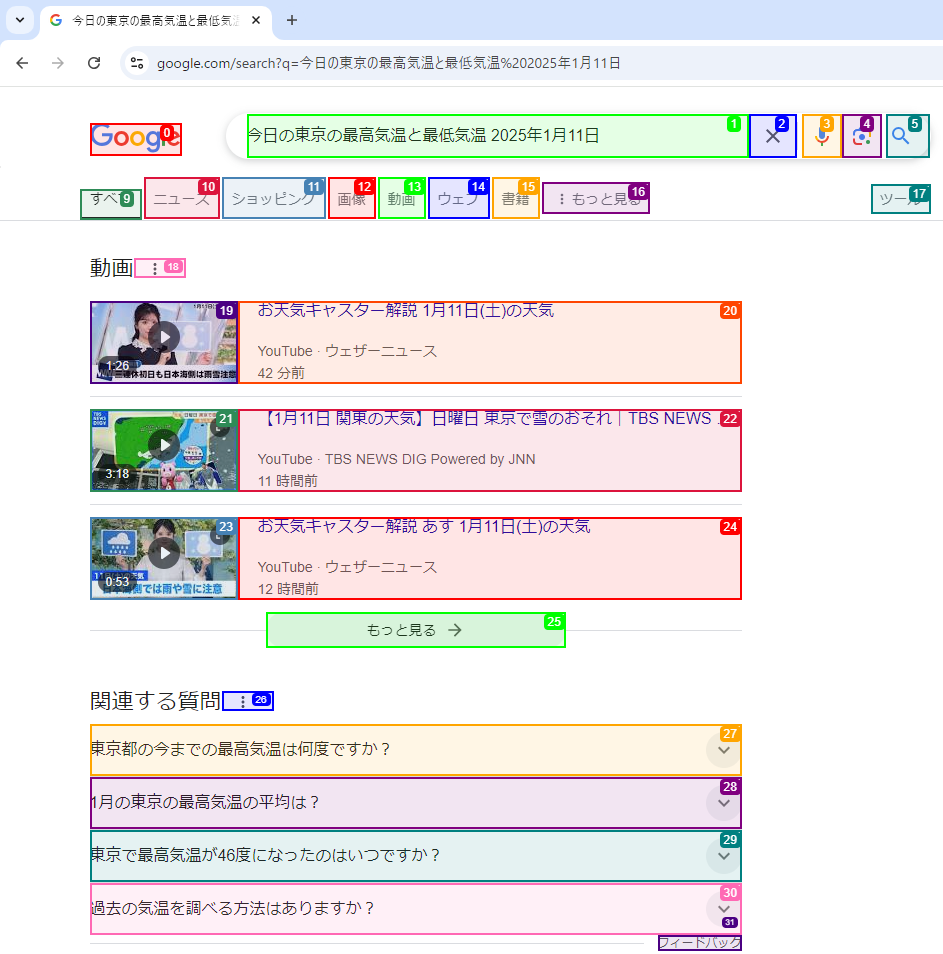
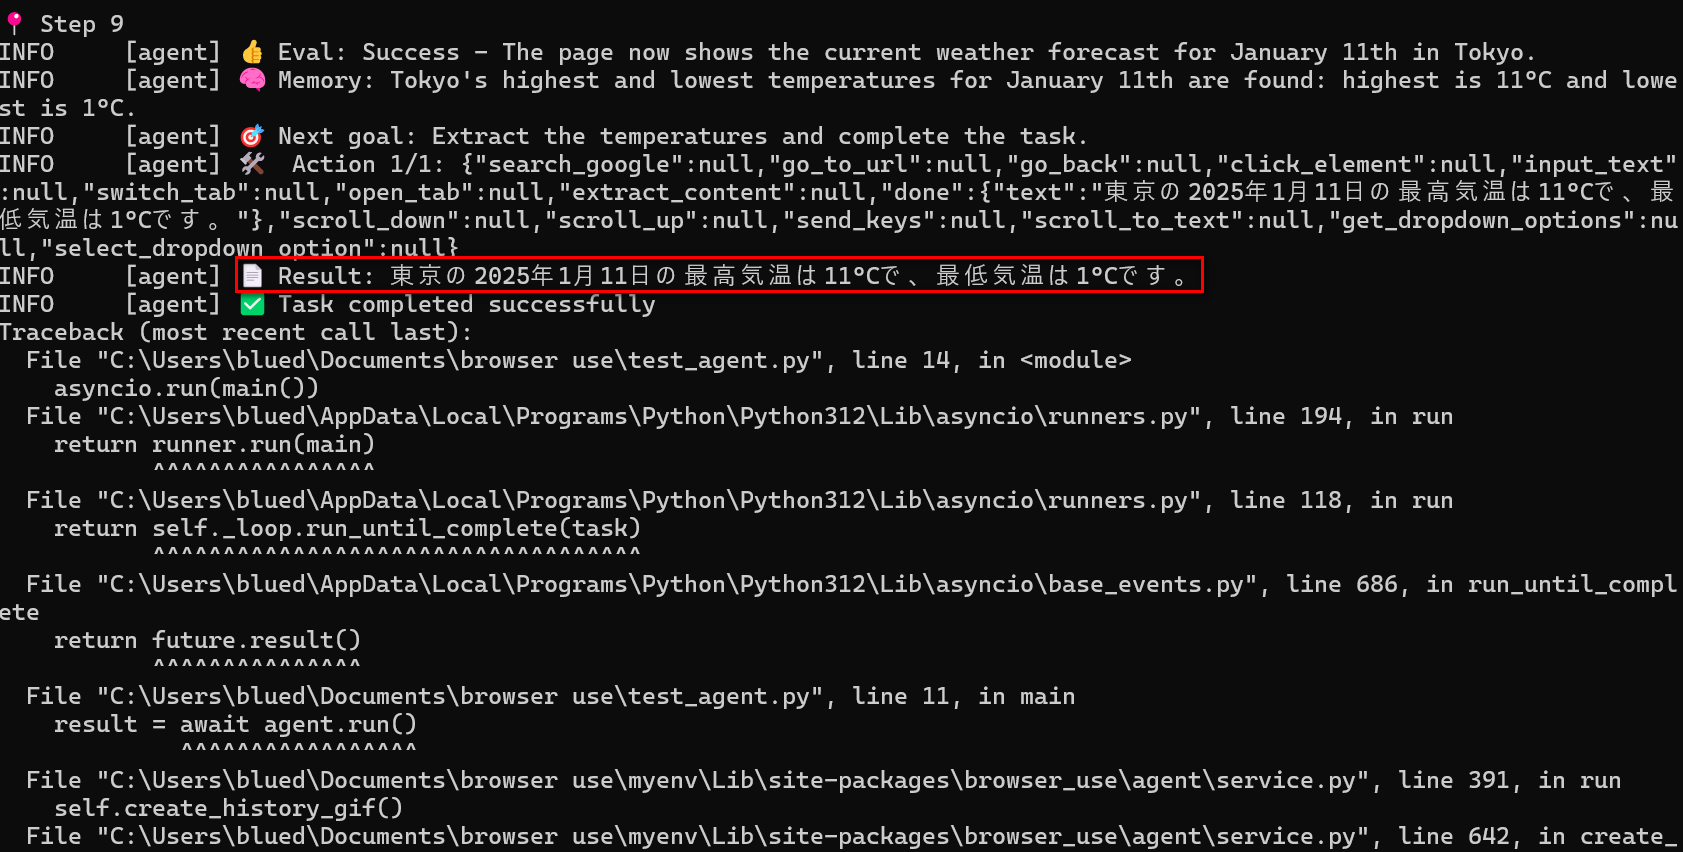
Stepの最後にResultという形で結果を表示してくれます。
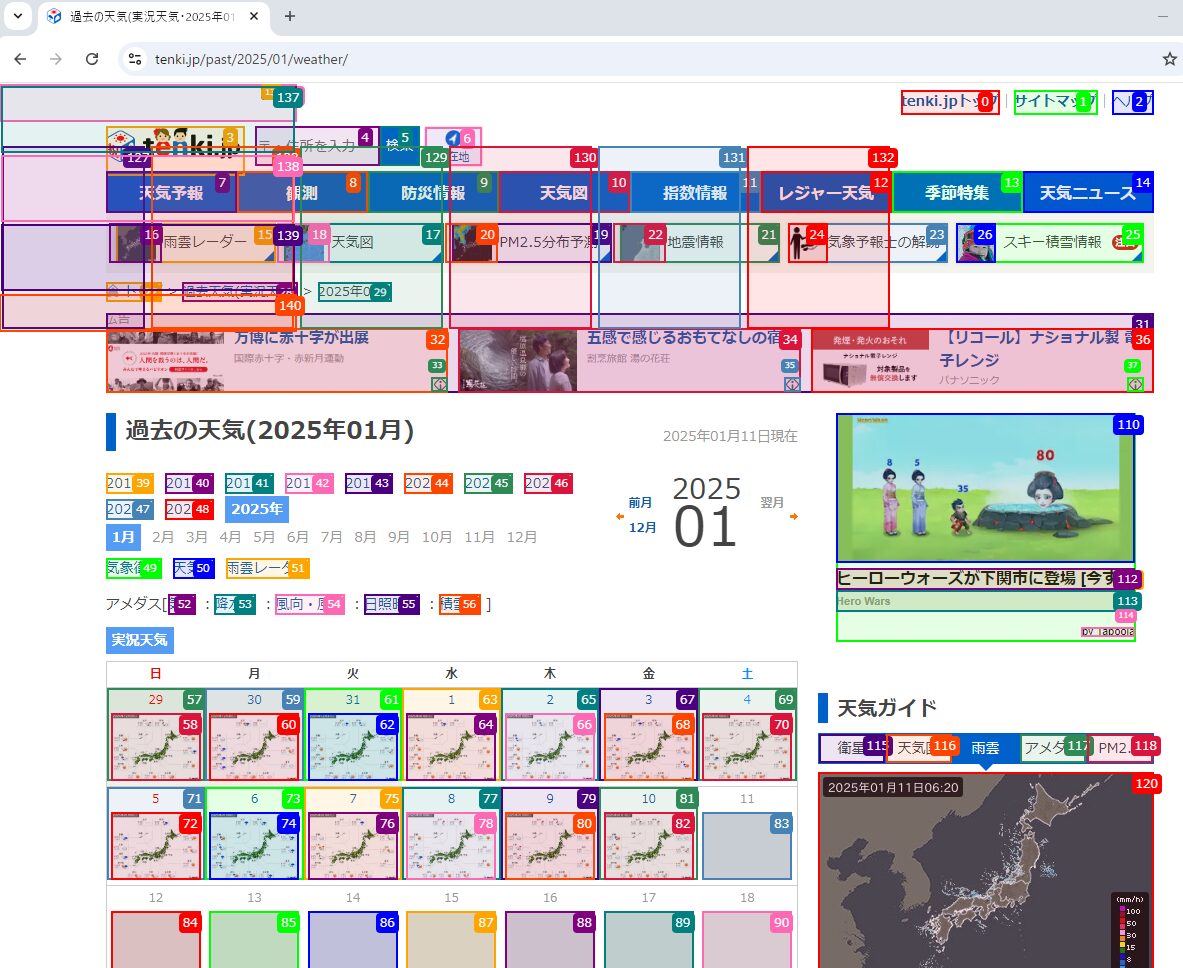
実際にChromeが立ち上がって操作されているのを見ると感動します!
Pythonファイルの作成②
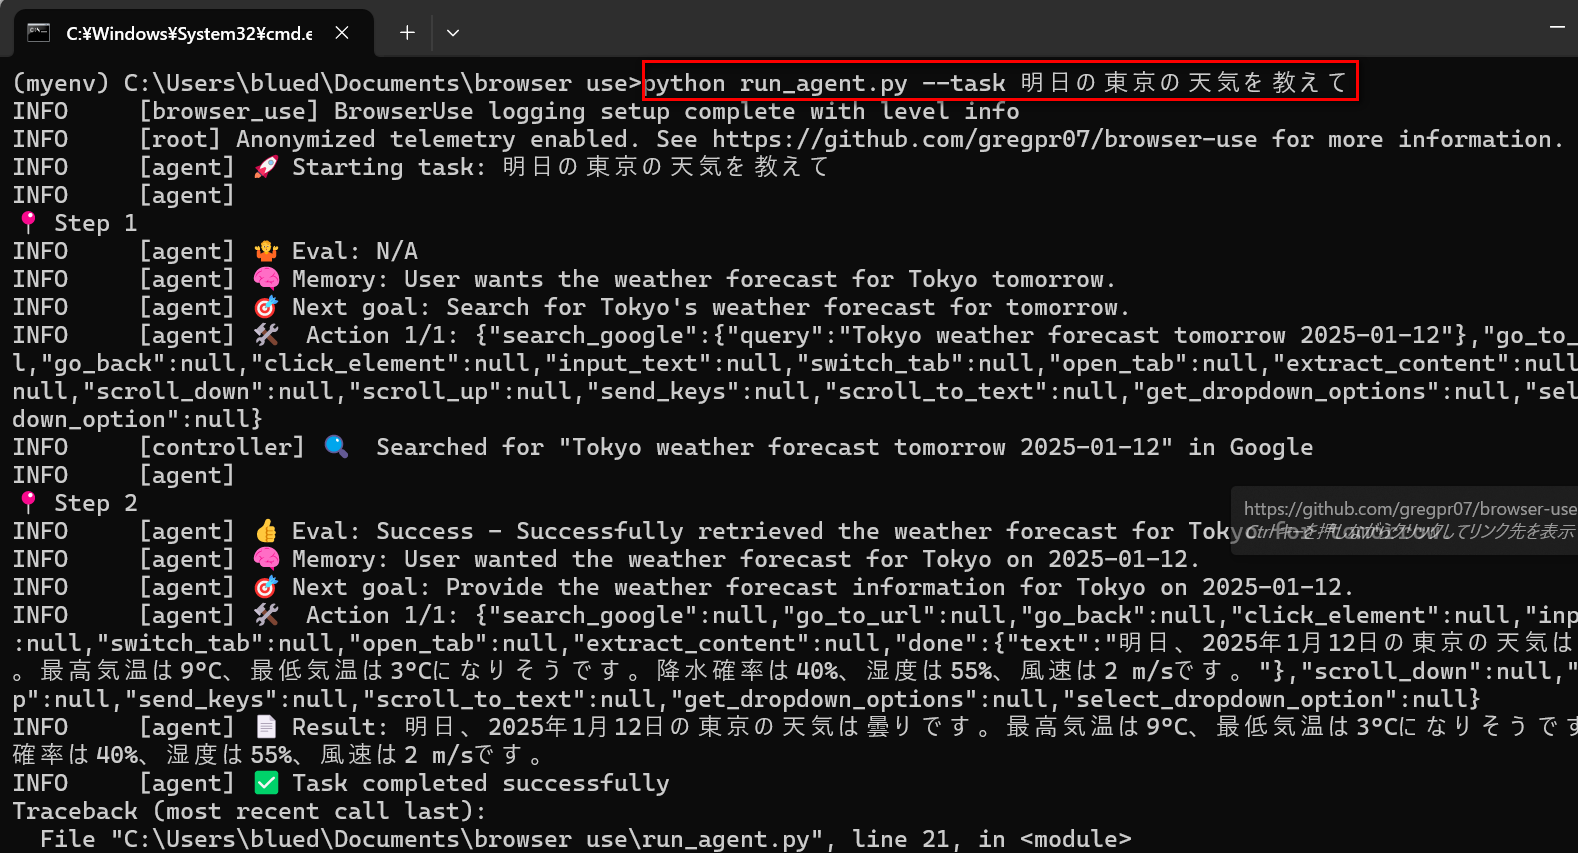
ChatGPT研究所さんではpythonスクリプト内のtaskを外だししてコマンドプロンプトに直接書き込めるコードも紹介してくださっていました。オープンになったら公開します。
Gemini APIを使用するには
上記はOpenAIのAPIであり料金が発生します(トークン数によりますが筆者はテストで4回くらい使用,
20stepで$0.27でした)。
そこでここでは無料であるGoogle AI StudioのAPI Keyを使う方法を紹介します。。
参考にした記事


.envファイルの修正
1..envファイルに以下をコピーする。「あなたのAPIキー」の部分にGemini APIキーを入力して保存する(OpenAIのAPIキーと並列で可)。
GOOGLE_API_KEY=あなたのAPIキー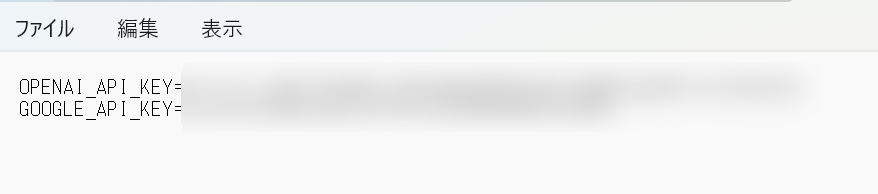
Pythonファイルの作成(Gemini用)
1.Broser Useフォルダ配下に新規テキストドキュメントを作成する。
2.ファイル名を「test_agent_gemini.py」にする。
3.右クリック-「プログラムから開く」-「メモ帳」を選択する。
4.以下をコピーして保存する。
# test_agent_gemini.py
from langchain_google_genai import ChatGoogleGenerativeAI
from browser_use import Agent
import asyncio

async def main():
    agent = Agent(
        task="今日の東京の最高気温と最低気温を教えて",
        llm=ChatGoogleGenerativeAI(model="gemini-1.5-pro"),
    )
    result = await agent.run()
    print(result)

asyncio.run(main())あとはコマンドプロンプト画面に以下を入力すると実行できます。
python test_agent_gemini.py最後に
今回はBrowser Useの構築方法、コマンドプロンプト上での実行方法について説明しました。
ただBrowser UseをWeb上で使えるWeb UIの方法もあるようなのでこちらもわかり次第記事にしていきます。
APIを理解できると自分で作るアプリに組み込むことができます。
さらに生成AIのAPIと組み合わせることで無限大の可能性が広がります。
私の書いている書籍なども参考ください。


コメント